Knowing how to clean your air ducts isn't just about wiping away some dust; it's about giving your home's entire respiratory system a reset. When you do it right, you’re pulling out years of accumulated gunk, allergens, and other contaminants, which directly translates to better indoor air quality and a happier, more efficient HVAC system. For a lot of us, it’s a non-negotiable part of home maintenance.
Why Clean Air Ducts Matter for Your Home
Let's be honest, the thought of what's hiding in your air ducts can be a little gross. They're the lungs of your home, constantly circulating air to every room, but they're completely out of sight. Over time, they become a collection point for dust, pet dander, pollen, and all sorts of other airborne particles.
That buildup doesn't just hang out, either. Every time your heat or AC kicks on, it can blast those irritants right back into your living space. This is a huge deal for anyone with allergies or asthma. For those families, clean ducts aren't a luxury—they're a must-have for a healthy home.
Regional Factors Impacting Your Ducts
Where you live actually makes a big difference in what ends up in your vents. For instance, homes in humid areas, like coastal regions, are way more likely to have issues with microbial growth inside the ductwork if any moisture gets in.
Your local air quality also plays a direct role. Here in California, we're dealing with everything from wildfire smoke and agricultural dust to industrial pollutants. All that stuff from the outside world finds its way into our HVAC systems, making indoor air quality even worse. This is why regular duct cleaning is so critical for both our health and keeping our systems running smoothly.
A clean HVAC system doesn't have to work as hard to move air. Removing the buildup of dust and debris allows air to flow freely, which can lead to improved energy efficiency and potentially lower utility bills over time.
More Than Just Dust Removal
Beyond the obvious health reasons, clean ducts are essential for keeping your HVAC system in good shape. When debris clogs up the works, it creates resistance, forcing your furnace and air conditioner to struggle to keep you comfortable. That extra strain can cause expensive parts, like the blower motor, to wear out way too soon.
By investing in regular duct cleaning, you’re doing more than just clearing the air. You’re protecting one of the biggest investments in your home. The benefits of air duct cleaning really do cover everything from creating a healthier home to making sure your HVAC system runs efficiently for years.
Assembling Your Duct Cleaning Toolkit

Before you even think about popping off the first vent cover, let's talk gear. Trust me on this one—going into a DIY duct cleaning job unprepared is a recipe for disaster. It can quickly turn your weekend project into a frustrating mess, or even worse, leave your home dustier than when you started.
This isn’t your average spring cleaning task; it requires some specific equipment to get the job done right and, most importantly, safely.
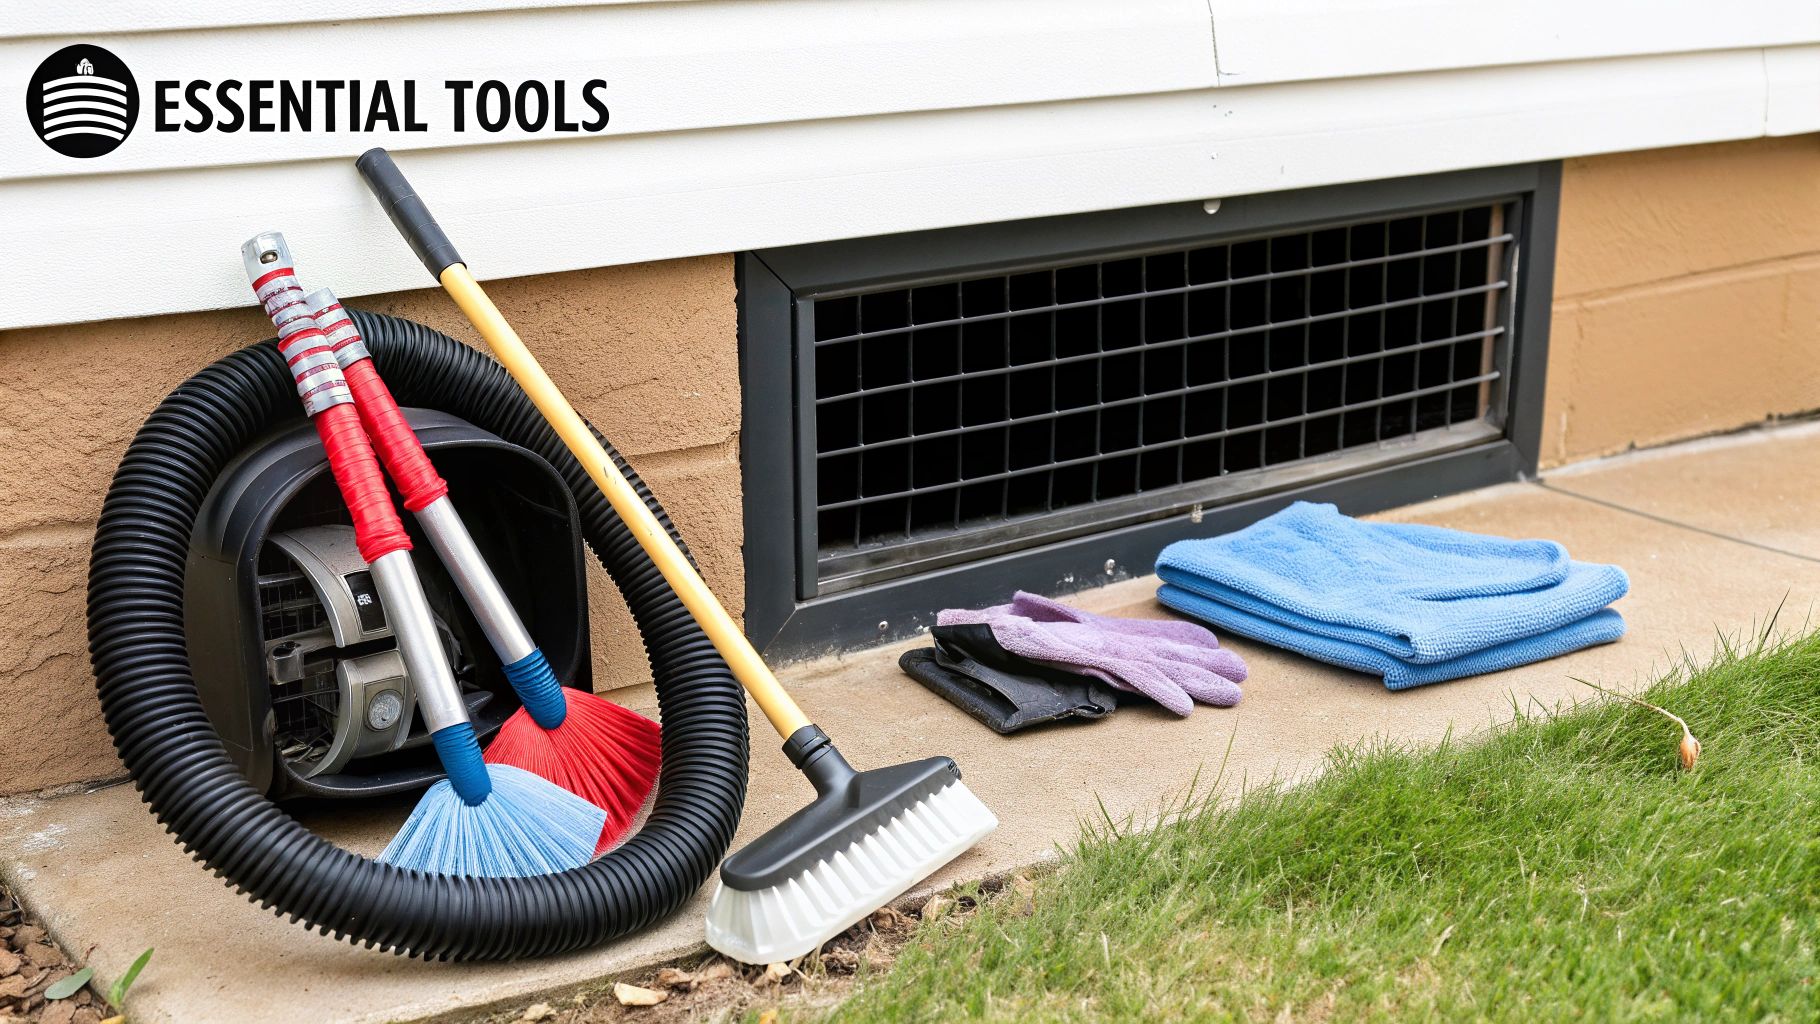
The absolute cornerstone of your kit is a high-powered vacuum. I'm not talking about your everyday household vacuum; it just doesn't have the muscle for this. You'll need a heavy-duty, shop-style vacuum with a hose long enough to snake deep into your ductwork.
But here’s the most critical part: it must have a HEPA (High-Efficiency Particulate Air) filter. Without one, you’re just pulling fine dust and allergens out of the vents and blasting them straight back into the air you breathe.
Essential Cleaning and Safety Gear
Getting the right tools is about more than just having the right vacuum. You'll need a few other key items to knock loose all that caked-on gunk and to protect yourself from what you’re about to unleash.
Here’s a quick rundown of what I’ve found to be essential for any DIY job.
Your Essential Duct Cleaning Checklist
To make sure you're properly kitted out, I've put together a simple table of the must-have tools. Having these on hand will make the entire process smoother and safer.
| Tool | Primary Use | Pro Tip for Selection |
|---|---|---|
| High-Powered Shop Vacuum | Sucking out loosened dust and debris from the ducts. | Insist on a model with a HEPA filter and a long, flexible hose. |
| Duct Cleaning Brush Kit | Agitating and dislodging stubborn dust from duct walls. | Look for a kit that attaches to a power drill and has soft bristles to prevent scratching your ductwork. |
| Power Drill or Screwdriver | Removing and reinstalling vent covers (registers/grilles). | A cordless power drill with the correct bits will save you a ton of time and wrist strain. |
| Personal Protective Gear (PPE) | Protecting your lungs, eyes, and hands from airborne particles. | Don't skimp here. Get an N95 mask, safety goggles, and a good pair of work gloves. |
| Microfibre Cloths | Wiping down vent covers and surrounding areas after cleaning. | Have a damp cloth for grime and a dry one for polishing. |
| New Furnace Filter | Ensuring clean air circulation after the job is done. | Make sure you have the correct size for your furnace model before you start. |
Remember, this gear isn't just for a professional-looking job; it's for your safety and the long-term health of your home's air.
The whole point of this exercise is to improve your home's air quality, not put your own health at risk. The dust, pet dander, and potential mould spores hiding in your ducts are things you absolutely do not want to be inhaling.
The Finishing Touches
With your main tools gathered, there are a couple of final items that will wrap up the job nicely. Make sure you have some microfibre cloths or cleaning wipes handy to give those vent covers a good cleaning before you put them back on.
And one last, crucial step: have a fresh furnace filter ready to go.
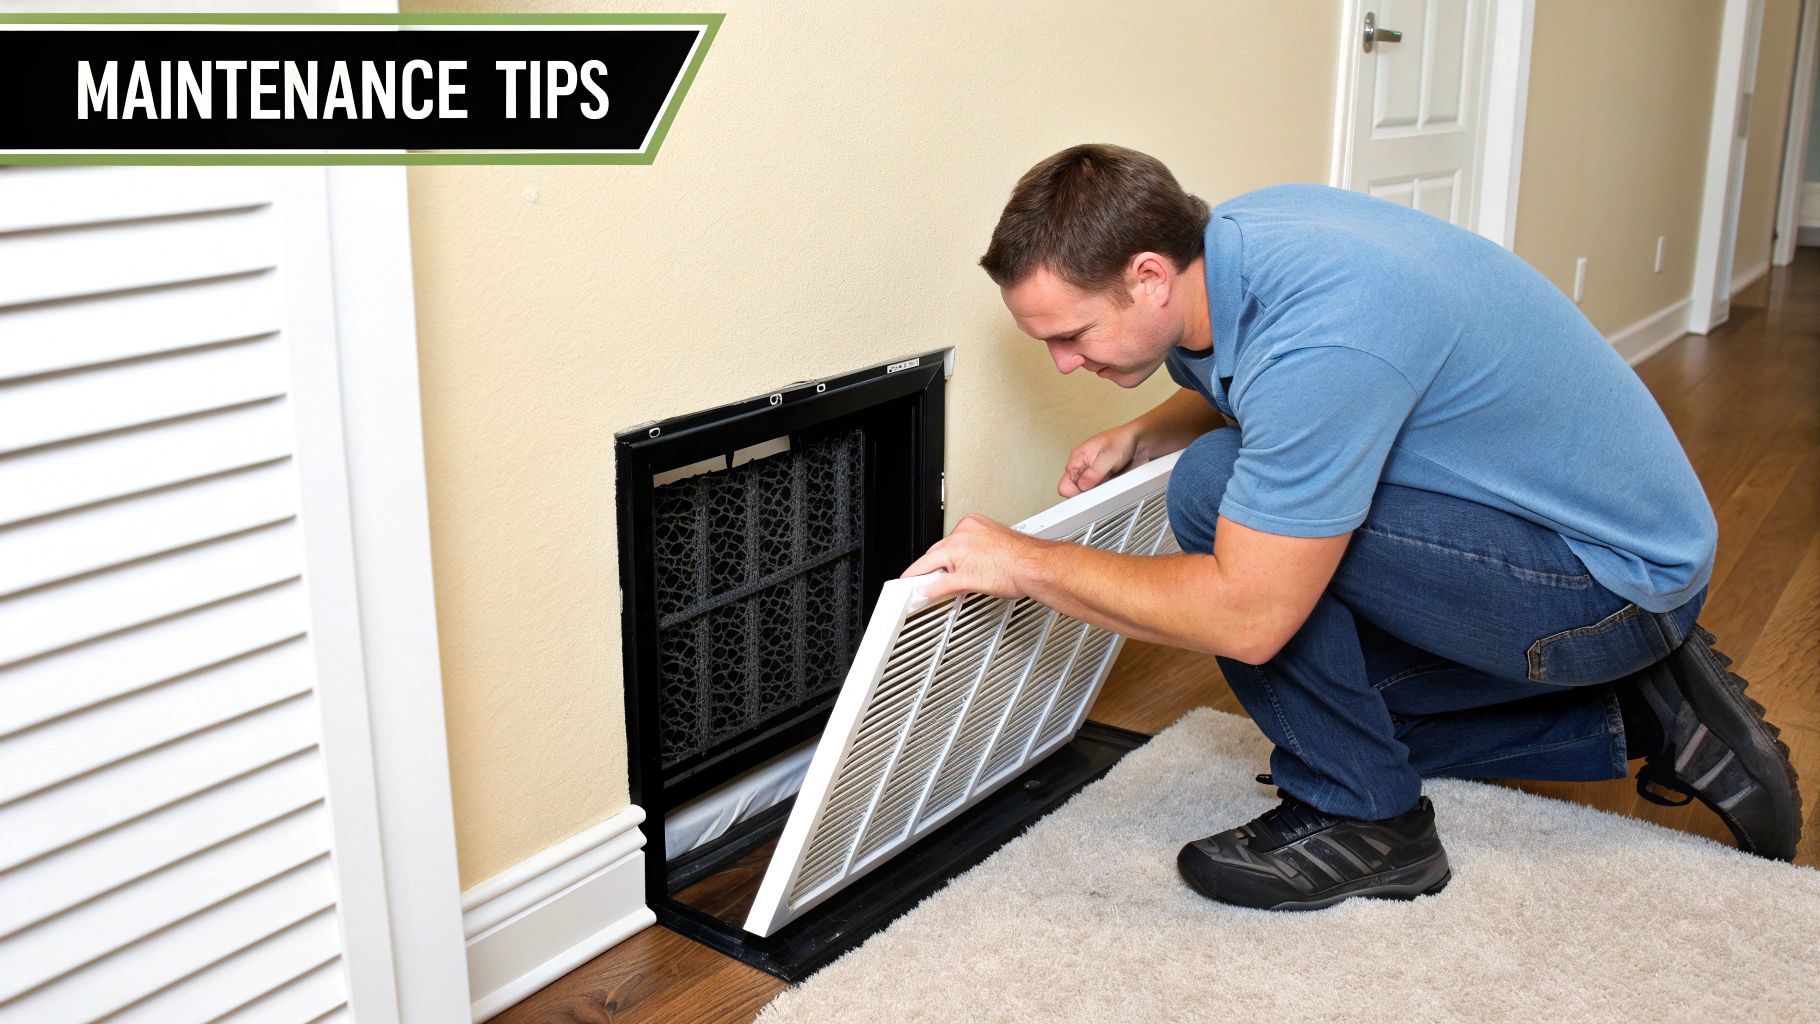
After a thorough cleaning, your HVAC system will be breathing easier. The final, satisfying step is swapping out the old, dirty filter for a brand new one. Knowing how to select and change your furnace and air filter is a key part of the process. Once all these tools are lined up, you’re ready to get started.
The Complete Duct Cleaning Process
Alright, with your tools laid out and safety gear on, it’s time to get down to business. Cleaning air ducts isn't about raw power; it’s a methodical process. The real trick is to capture all the dust you knock loose, not blast it all over your house.
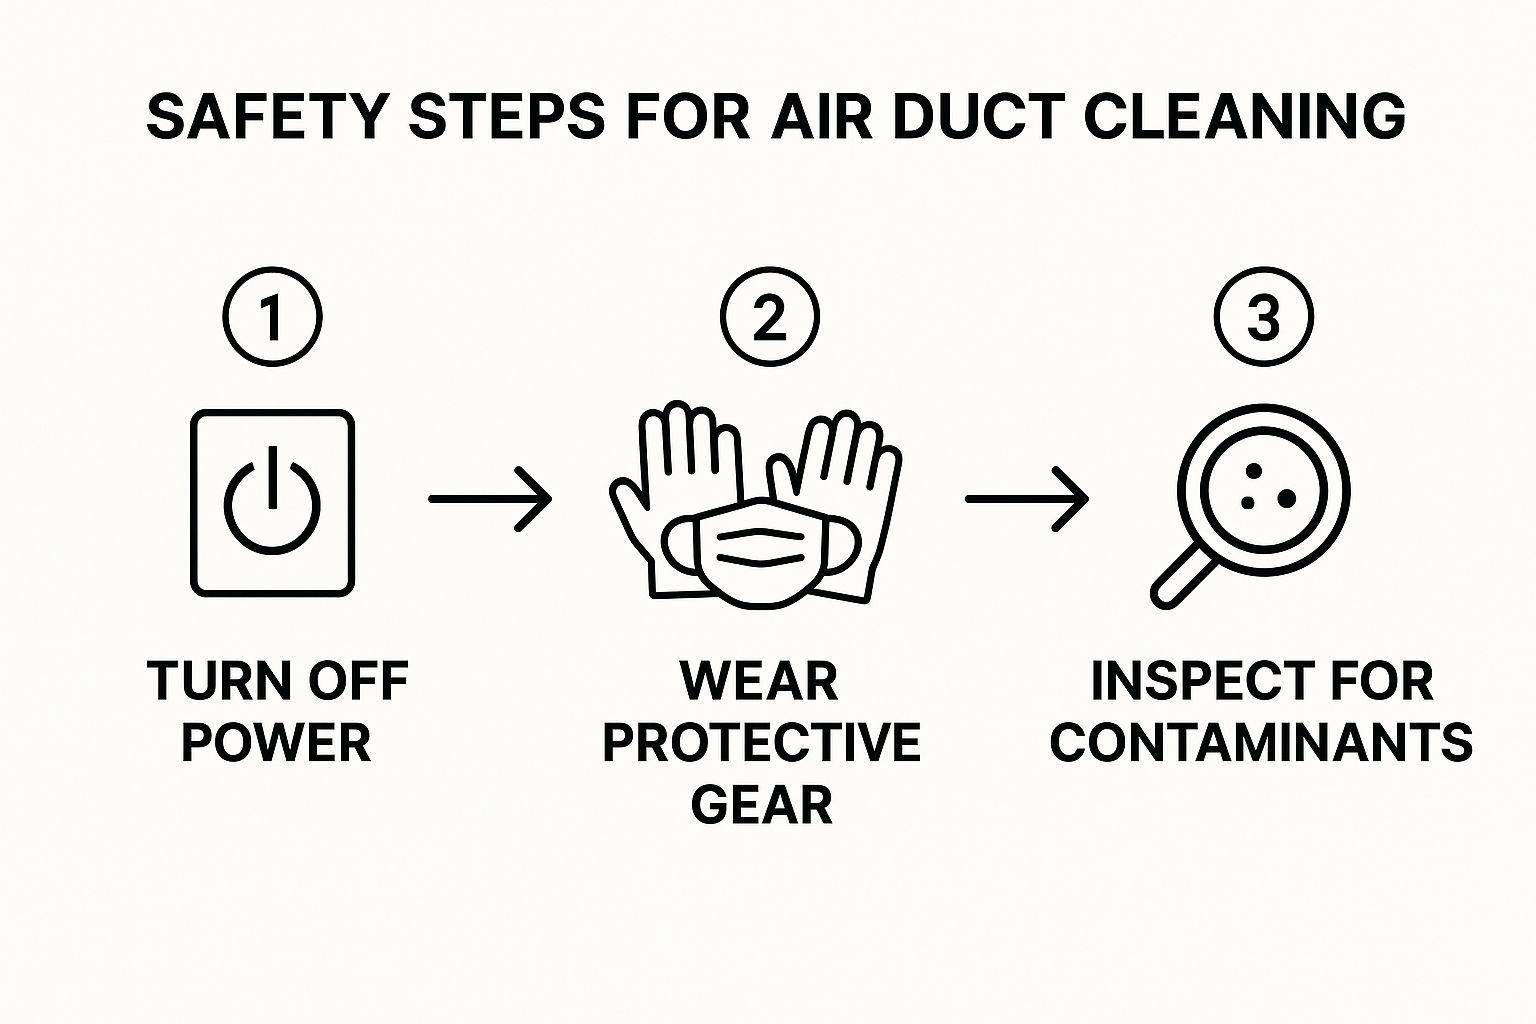
First thing’s first, and this is non-negotiable: completely shut off your HVAC system. March right over to your home's main electrical panel and flip the breakers for your furnace and your air conditioner. This is a crucial safety step to prevent the system from kicking on while you’re working, which would not only create a massive mess but also be incredibly dangerous.
Next up is containment. Grab some paper towels or a few old rags and gently stuff them into the supply registers in every room. Once they're plugged, use painter's tape to seal around the edges of the vent covers. This creates a closed system, forcing all the dislodged dust and debris toward your vacuum instead of letting it escape into your living space.
Getting into the Ducts
With the system prepped, you can start the hands-on cleaning. Begin by removing the register covers from your supply vents—those are the ones that blow air into the room. I like to take them outside or to a utility sink for a good scrub with soap and warm water to get all the grime off.
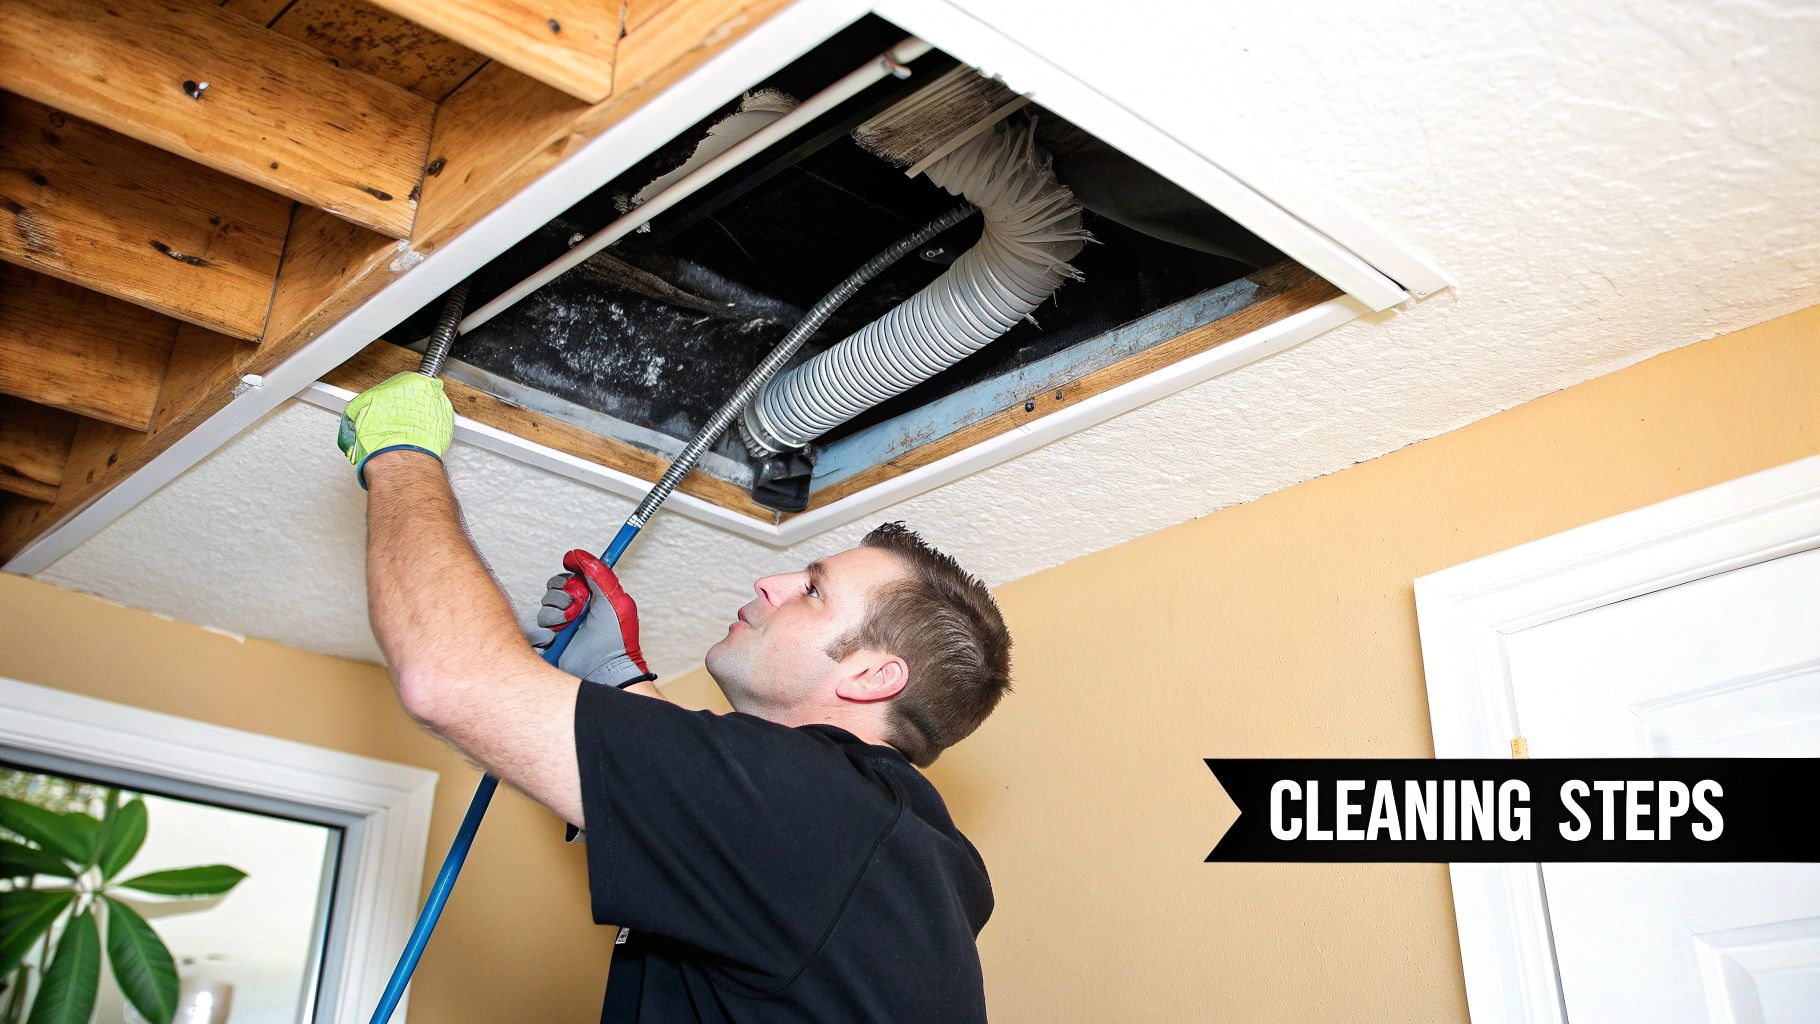
While those covers are drying, you can start tackling the ductwork itself. Attach a long, flexible brush to your power drill and feed it carefully into the duct. Your goal is to agitate the dust clinging to the walls. Be firm but not overly aggressive, especially if you have flexible ductwork. That stuff can tear or puncture if you get too rough with it.
This graphic breaks down the essential safety steps you have to take before you even think about starting.

Honestly, getting these initial steps right is what separates a successful cleaning from a disaster. It prevents system damage and keeps contaminants from going airborne.
The Vacuuming Technique
Once you've loosened up all that gunk, it's time to pull it out. Get the hose of your HEPA-filtered shop vacuum and push it as far into the duct as you can. Flip it on and let it suck up all the particles you just broke free with the brush.
You'll want to work your way through the house, hitting every single supply duct one by one. I find it helps to stick to a consistent pattern for each vent:
- Take off and clean the register cover.
- Agitate the dust inside with the brush.
- Vacuum out all the loose debris thoroughly.
After you’ve done all the supply ducts, it’s time to do the same for the return air ducts. These are the larger vents that pull air back into the system, and they're usually the dirtiest, so spend a little extra time on them. A proper clean means hitting both supply and return ducts, and it also helps to understand how the entire system, including your AC, works together. You can learn more about how it all connects by reading about air conditioning cleaning and ducts.
Remember, patience is your best friend here. If you rush, you'll miss spots or, even worse, send a cloud of dust into a room you thought was sealed. Always work methodically, starting from the vent furthest from your furnace and making your way closer.
Finally, once every duct has been brushed and vacuumed, you can tackle the main supply and return plenums right near your furnace. Use your vacuum to clear out any last bits of dust that fell to the bottom. With that done, you can reinstall your clean, dry register covers, pull off the tape and paper towels, and pop in a brand-new furnace filter. Only then should you head back to the breaker box to restore power. Now, go ahead and enjoy that fresher, cleaner air.
Common Mistakes That Sabotage Duct Cleaning

We've seen it all. A homeowner sets out to clean their own air ducts, armed with good intentions, but ends up with an even bigger mess. Sometimes, a DIY duct cleaning job can actually leave your home’s air quality worse off than when you started.
Knowing what not to do is just as important as following the right steps.
One of the most common blunders is grabbing the wrong tool for the job. Your standard household vacuum or even a basic shop vac might seem like it can handle the task, but it’s a recipe for disaster. These machines simply don't have the suction power or, crucially, the HEPA filtration needed to trap microscopic particles.
Without a proper HEPA filter, you’re just stirring up years of dust, dander, and allergens. You're loosening all that gunk from the duct walls only to blow it right back into your living room. This doesn't just defeat the purpose; it can actively trigger allergies and breathing problems.
Overlooking Proper Containment
Another classic mistake is forgetting to properly seal off the system before you start. If you begin cleaning without covering every single supply register, you’ve just created a dozen escape routes for dust. This is how a simple cleaning project turns into a whole-house dusting marathon.
Before you even think about turning on a vacuum, each supply register must be sealed airtight. This critical step ensures that all the debris you dislodge has only one place to go: into your vacuum hose. Skip this, and you’ll be cleaning your furniture, floors, and everything else for days.
The goal is to create a controlled, negative-pressure environment inside the ductwork. When you seal all other openings, the powerful suction from your vacuum becomes the only exit point for dust, ensuring it gets captured effectively.
Using the Wrong Technique and Tools
It’s tempting to get aggressive with stubborn buildup, but going too hard with stiff brushes can permanently damage your ductwork. This is especially true for the flexible ducts found in many modern homes. They're easily torn or punctured by abrasive tools, leading to expensive repairs and a major drop in your HVAC system’s efficiency.
Just as important is realizing that a DIY job has its limits. Many people focus only on the vents and forget about the rest of the HVAC system. Key components like the blower motor, evaporator coils, and drain pan also get caked with grime and need a careful, specialized touch. If you ignore these parts, you’re only doing half the job.
Finally, be cautious if you decide to hire help. We’ve heard countless stories of homeowners falling for deals that sound too good to be true. Knowing what to look for can help you avoid common duct cleaning scams and find a reputable pro.
By sidestepping these common pitfalls, you can ensure your efforts lead to genuinely cleaner air—not a bigger mess or a broken system.
When to Call a Professional Duct Cleaner

While the DIY approach we've discussed is great for regular upkeep, some situations are just too big for a shop vac and a brush. Knowing how to clean your air ducts is one thing, but recognising when a job demands professional-grade equipment and expertise is crucial for your home's health.
Sometimes, the warning signs are glaring. If you take a peek inside your ducts and see visible mould growth, that's your cue to stop immediately and pick up the phone. Trying to tackle that yourself can be a disaster—you risk releasing millions of spores into your home, turning a contained issue into a full-blown contamination nightmare. Professionals have the containment gear and specialized training to handle mould safely.
Situations Demanding an Expert
Beyond mould, a few other scenarios are clear signals that it's time to bring in the pros. Trying to manage these on your own can be a waste of time at best and could even damage your HVAC system.
- Pest Infestations: Finding evidence that rodents or insects have made a home in your ductwork is a definite job for a professional. They're equipped to properly remove nests, droppings, and other hazardous gunk that your vacuum will just stir up.
- Post-Renovation Clean-Up: Anyone who’s lived through a renovation knows the incredible amount of fine dust it creates. Drywall particles and sawdust get everywhere, especially in your ducts. This kind of heavy-duty mess requires powerful, truck-mounted vacuum systems that DIY tools simply can't match.
- Excessive Debris: If it’s been a decade or more since your ducts were last cleaned, you’re dealing with more than just light dust. You've got compacted layers of debris that a simple brush won't budge. Professionals use high-powered agitation tools to break it all loose.
A professional service isn't just about a stronger vacuum. It's about having an entire arsenal of specialized tools, from high-powered air whips that scrub every inch of the duct interior to advanced camera systems that can pinpoint hidden blockages or damage.
There are many clear signs that you need to get your air ducts cleaned, and spotting them early is key to keeping your home’s air healthy.
Understanding Professional Costs
Hiring a professional is an investment in your home's air quality, and it’s good to know what goes into the price tag. Costs can shift based on factors like the size of your home, how many vents you have, and the layout of your ductwork.
As a ballpark figure, a professional air duct cleaning for a typical 1,200-square-foot home often lands around $400. Things like having delicate flex ducts that need special care can nudge that price higher. It’s an investment that reflects a thorough, detailed job, which usually takes between five and seven hours to do correctly.
When you're looking for a company, keep an eye out for certifications from the National Air Duct Cleaners Association (NADCA). This is a good indicator that the technicians are well-trained and adhere to industry best practices. Any reputable company will insist on an on-site inspection before giving you a firm quote—be wary of anyone who throws out a price over the phone.
Your Air Duct Cleaning Questions Answered
Even with a detailed guide in hand, it’s completely normal to have a few questions rattling around. Getting clear on the details helps you make the right call for your home and ensures your efforts actually lead to cleaner, healthier air. Let's dig into some of the most common things homeowners ask about cleaning their air ducts.
How Often Should I Clean My Air Ducts?
The general advice you'll hear is to have your ducts cleaned every three to five years, and that’s a decent starting point. But honestly, it's not a one-size-fits-all answer. Life happens, and several things can easily shrink that timeline to every two or three years.
You’ll want to think about a more frequent cleaning schedule if you:
- Have furry friends leaving a trail of pet dander and hair everywhere.
- Live with anyone who struggles with serious allergies or asthma.
- Just finished a big home renovation, which always kicks up a shocking amount of fine dust.
- Smell a weird, musty odour every time the furnace or AC kicks on.
Where you live matters, too. For instance, in places like California, things like wildfire smoke, coastal humidity, and general outdoor pollution can really speed up how fast your ductwork gets contaminated. Because of these challenges, many local pros suggest cleaning ducts more often to keep indoor air quality high and your HVAC system happy. You can find more details on why regional factors impact duct cleaning frequency on acunaspolaraire.com.
Does Cleaning Air Ducts Improve Energy Efficiency?
Yes, it absolutely can. Your ductwork is like the respiratory system of your house. When it gets clogged with layers of dust, pet hair, and other gunk, your furnace and air conditioner have to fight to push air through.
That extra strain means your HVAC system runs longer and harder just to hit the temperature you set on the thermostat. By clearing those blockages, you let air move freely again. This takes a huge load off your system, which can lead directly to lower monthly energy bills and less wear and tear on your expensive equipment.
The biggest risk with a DIY job is accidentally making your air quality worse. If you just grab a regular shop vac, you could loosen up fine dust particles and blast them all over your house instead of capturing them.
There’s also a real danger of tearing or puncturing delicate flex ducting if you get too aggressive with a brush. If it’s been years since your ducts were last touched or you suspect there might be mould, calling in a professional is the smarter, safer bet. They have the proper high-powered vacuums and tools to do the job right without damaging your system or contaminating your home.
Ready to make sure the air in your home is as clean as it can be? The skilled technicians at Can Do Duct Cleaning offer thorough, professional services across the Greater Toronto Area. Contact us today for a comprehensive on-site inspection and personalized quote!


